Have you ever attended a chili cook-off? It seems that everyone has their own "secret" chili recipe. Secret ingredients, specific cooking vessels, and unique cooking techniques are showcased. With each bowl of chili, you are left scratching you head, wondering what the secret is that made you want more. I have a chili recipe that I consider to be my own pride and joy. The difference is that I WANT to share my secrets with you, so you can share this chili with your friends and family. There is something to be said about a meal that feels like a hug. This is exactly how I feel when I eat my Dutch oven chili.
The key to making a good chili is building flavor. This recipe does have many ingredients (many of which are already in your pantry). However, to truly achieve the depth of flavor needed for a good chili, a range of ingredients is necessary.

A Delicious Dinner In The Great Outdoors
When I made this recipe for the first time, I made it in preparation for a camping trip. Every year, my best friend's family and my family go camping together. We always try to come up with fun and unique campfire recipes and boy, this chili was a hit!
It was super easy to cook at home on the stovetop, place in an airtight container, and then warm up over the camp stove during our camping trip.
Get this: we served this chili over GRILLED CHEESE SANDWICHES. I know, right? Who would ever serve chili over a grilled cheese sandwich?! Let me tell you - this was one of the most unexpectedly delicious (and decadent) meals I have ever had. The texture of hearty soup and crispy grilled cheese sandwiches reminded me of my tomato bisque with grilled cheese croutons recipe. Perhaps grilled cheese should ALWAYS accompany soup...
Alas, I digress. My point is that this chili recipe can be enjoyed at home or while camping and if you dare, try pouring it over a crispy, gooey grilled cheese sandwich. You won't regret it!
What Makes This Dutch Oven Chili Recipe Unique
In addition to being easy to eat at home or camping, this chili is dynamite because of its range of amazing ingredients.
The Meats
This recipe calls for both ground beef and sweet Italian sausages, removed from their casings. The meat is always the star of the chili show and I did not want to disappoint. Although there are many chili recipes that use just ground beef (and tbh, you could use only ground beef in this recipe and it would be delicious), the sausage adds an unctuousness that really stands out.
The Veggies
Chili is also about the veggies. This recipe calls for the usual suspects: onion, garlic, tomatoes... but instead of bell peppers, I use poblano peppers. They add a beautiful note of pepper without too much heat and without too much sweet. They are also a little bit of a twist on what I would consider to be traditional chili vegetables.
The Beans
Okay, I may get blasted for this from my Texas family. My Dutch oven chili recipe has two kinds of beans: pinto beans and black beans. I know, I know... no self-respecting Texan serves beans in their chili. If you are adamantly against beans in chili, no biggie! You may omit the beans and the chili will still be amazing. Even my mom, who is a full-blooded Texan told me the chili was delicious, even with beans.
The Spices
The most important ingredients of this recipe, in my opinion, are the spices. This is where the ingredient list grows quite a lot. I love to use a combination of warming spices like cinnamon, clove, and allspice in this recipe. I also like to add smokiness with smoked paprika and adobo sauce. An unexpected floral note comes from coriander. A splash of dark balsamic vinegar adds the perfect acidic bite right at the end. The combination of these beautiful flavors will keep your guests guessing.
The Toppings
If you are like me, you like to add some pizzazz to your chili in the form of delicious toppings. Here is a list of my favorite toppings that will further enhance your chili experience:
- Shredded cheese - I like cheddar or a Colby/jack mix
- Chopped green onions
- A dollop of sour cream
- Chopped cilantro or parsley - just a sprinkle!
- Crunchy corn chips
There you have it! You now have all of my chili secrets.

Let's Talk Dutch Ovens
Y'all - this recipe is a one pot wonder. Clean up is just as easy as the recipe itself, which means you get to spend more time with your family after dinner. I love recipes like this! Below are my recommendations for a good enameled cast iron Dutch oven. Please note, these are affiliate links and I may receive a commission on any purchases you make, at no cost to you. Please visit my Disclaimer for more information.
I make this chili in a 7-quart, enameled cast iron Dutch oven. The one I use comes in a package of two (one 4-quart and one 7-quart) by the brand, Tramontina (seen below). I love cast iron because heat is distributed perfectly. When your cooking vessel has even heat distribution, your food cooks so much more evenly. You could make this recipe in a standard pot, I just prefer cast iron.

My other recommendations for enameled cast iron Dutch ovens are:
- Le Creuset - Le Creuset is the Rolls Royce of cookware. My Dutch oven isn't Le Creuset, but I have other cookware by this brand. The thing I love about Le Creuset is that you only have to buy it once. Their products are so high quality that you won't need to replace them.

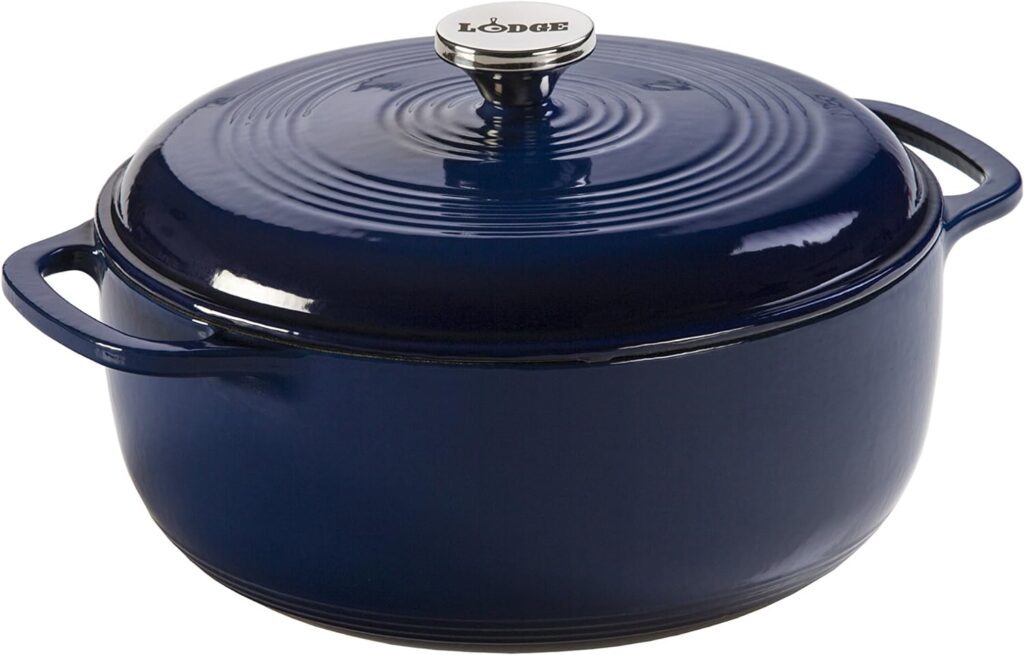
- Lodge - Lodge is probably the most widely used brand for cast iron. Their cast iron skillets, pots, and pans are the industry standard.

- Amazon Basics - If you are just starting out or don't have a big budget, fear not! Amazon Basics has an enameled cast iron Dutch oven that comes highly rated.

More Amazing Stovetop Dutch Oven Recipes
If you think a Dutch oven is just a pot that you bring out once in awhile, think again! There are so many recipes that utilize a Dutch oven. Here is a mini round up of some of my favorite stovetop Dutch oven recipes, courtesy of my fellow food bloggers.


How To Make Dutch Oven Chili
First, you need to soften the onion and poblano peppers in olive oil. Once the onion and peppers are soft and fragrant, add garlic.
Next, add ground beef and sweet Italian sausage. Brown the meat, breaking it up with a wooden spoon. Season with a pinch of salt and pepper.


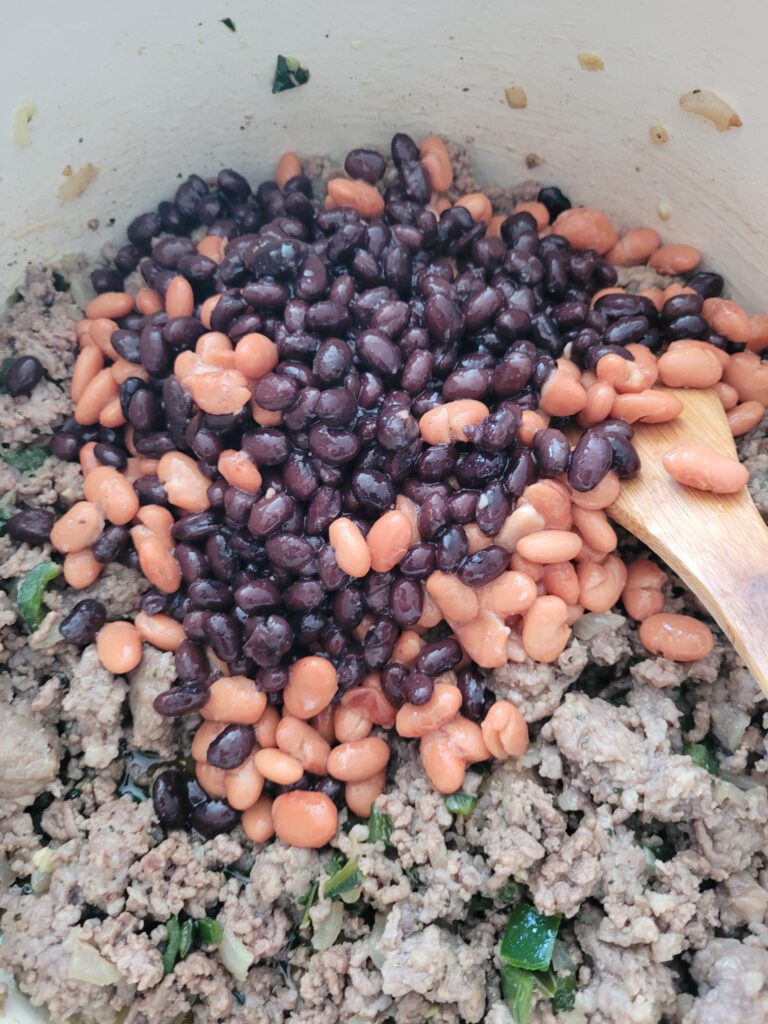
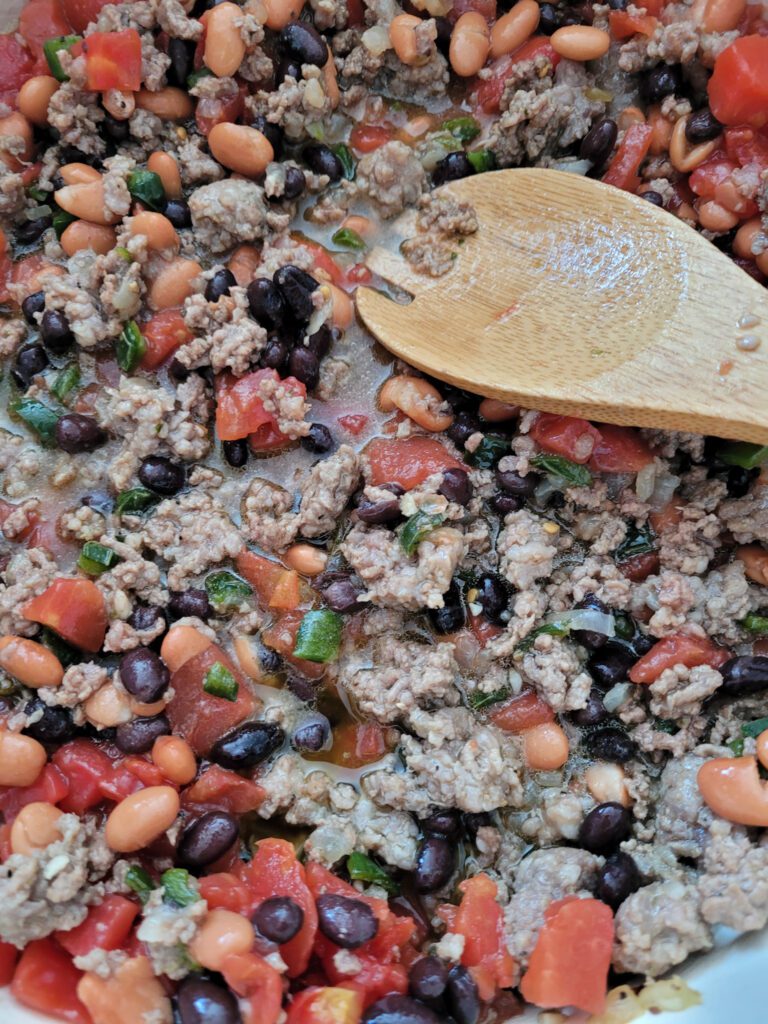
After the beef and sausage are fully cooked, add a can of pinto beans, a can of black beans, a can of diced tomatoes, and a can of tomatoes with green chilis. Stir.


The next step is adding all of the flavor bombs. Add adobo sauce, tomato paste, beef broth, and all of the spices (onion powder, garlic powder, chili powder, cinnamon, smoked paprika, allspice, clove, coriander), and 3 bay leaves.
Bring to a boil and then simmer the chili for 20 minutes. In the last 5 minutes, add balsamic vinegar.


Serve and enjoy with your favorite toppings!

Although the list of ingredients is long, the process could not be any easier. And the results are SO TASTY!
FAQs
Yes! Ground turkey is definitely a good swap if you are looking to lighten the chili.
This is a great make-ahead recipe. I like to make this chili a day or two in advance because the ingredients get time to marry and the sauce thickens. Just be sure to cool the chili completely, pack in an airtight container, and refrigerate until needed. This chili will stay good up to 5 days in the refrigerator.
Yes! This chili recipe is delicious, even from frozen! I often make a double batch of chili and freeze half for a busy day in the future.
Here's what you'll do:
1. Let the chili cool completely after you cook it.
2. Pack chili in an airtight container, leaving a little room for the chili to expand in the freezer. You may also spoon the chili into portions in freezer bags - just be sure to label them with the date!
3. Freeze chili for up to 3 months.
4. When you are ready to eat the chili, remove it from the freezer. You may either thaw the chili in a pot over medium heat until it is heated through. Or, you may also thaw the chili in the microwave. If you have trouble removing the chili from the freezer container, submerge the container in hot water for a couple of minutes until the chili releases.
Absolutely! Just use imitation beef, like Beyond or Gardein (not sponsored), in the place of the ground beef and sausage. Or if you prefer, you can skip the meat altogether and just go heavier on the beans. This recipe is super versatile with dietary restrictions.
Dutch Ovens Aren't Just For Savory Cooking
If you are interested in finding out more about Dutch oven cooking, check out my article featuring our Top 10 Dutch Oven Dessert Recipes!


Other Recipes That Are Amazing On A Chilly Night
- Creamy Tomato Bisque with Grilled Cheese Croutons
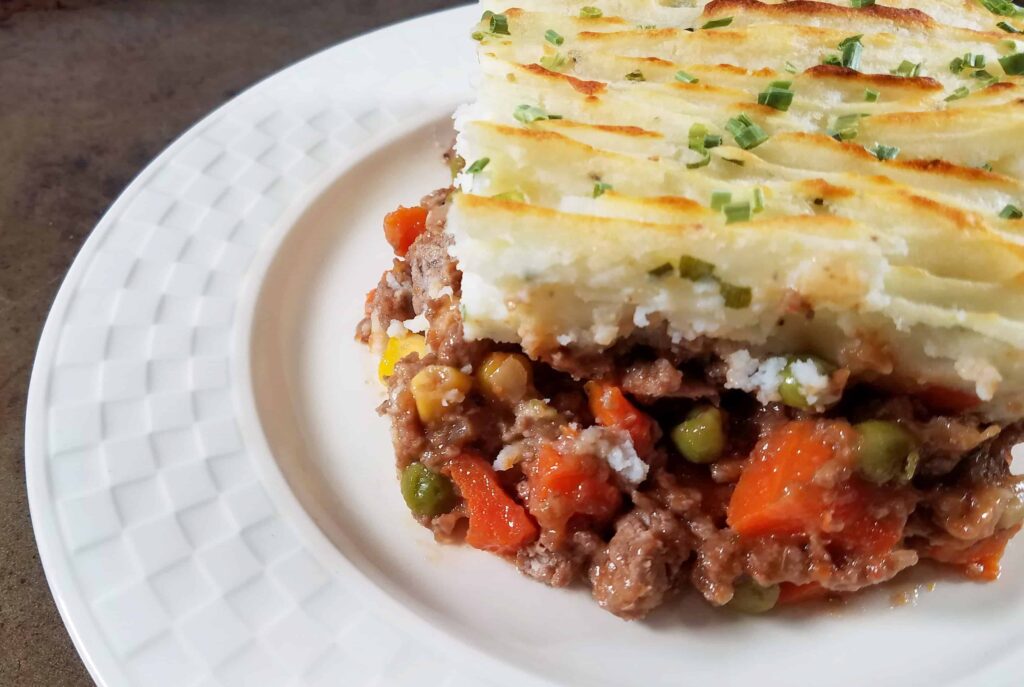
- Hearty Ground Turkey Shepherd's Pie
- Gooey Pasta Al Forno
- Cajun Chicken Pasta With Andouille Sausage


Dutch Oven Chili
Ingredients
- 1 tbsp. olive oil extra virgin
- 1 large yellow onion diced
- 2 large poblano peppers seeds and ribs removed, diced
- 2 cloves garlic minced
- 1 lb. ground beef
- 19 oz. sweet Italian sausage casings removed
- 1 16 oz. can pinto beans drained
- 1 15 oz. can black beans drained
- 1 14.5 oz. can diced tomatoes not drained
- 1 10 oz. can diced tomatoes with green chilies not drained (like Rotel - this is not a sponsored post)
- 1 cup beef broth
- 2 tbsp. adobo sauce
- 2 tbsp. tomato paste
- 3 bay leaves
- 3 tbsp. balsamic vinegar
Chili Spice Mixture - Mix these together before you start cooking
- 2 tbsp. chili powder
- 1 tbsp. onion powder
- 1 tbsp. garlic powder
- 1 tbsp. smoked paprika
- 2 tsp. ground cinnamon
- ½ tsp. ground allspice
- ½ tsp. ground clove
- ½ tsp. ground coriander
- 1 tsp. salt
- ½ tsp. pepper
Instructions
- In a 7-quart Dutch oven (or a 7 quart soup pot), heat extra virgin olive oil over medium to medium high heat.
- Add diced onion and poblano peppers, cooking until vegetables are softened and onions are translucent, about 3 minutes.
- Add minced garlic and cook for 1 minute.
- Add ground beef and sweet Italian sausage and brown completely, breaking up the pieces with a wooden spoon, about 7 minutes.
- Add pinto beans (drained), black beans (drained), diced tomatoes (NOT drained), diced tomatoes and chilies (NOT drained), and beef broth. Stir everything together.
- Add adobo sauce, tomato paste, bay leaves, and all of the Chili Spice Mixture. Stir to incorporate.
- Bring the chili to a boil over high heat and then reduce to a simmer over medium-low heat. Simmer chili for 20 minutes, covered, stirring occasionally.
- In the last 5 minutes, add the balsamic vinegar to the chili. Finish simmering for 5 minutes.
- When the chili is done, carefully taste and add any salt/pepper, as needed. Remove the bay leaves. Serve immediately or refrigerate/freeze, as needed (be sure the chili is fully cooled before refrigerating/freezing). Enjoy!


Leave a Reply